Drywall Finishing: Taping, mudding, sanding and texturing in Akron
Get the perfect, smooth finish every time!
What ist Drywall finishing?
Drywall finishing is the crucial final stage of drywall installation, determining the ultimate look and feel of your walls and ceilings. Mastery of drywall finishing requires a combination of skill, precision, and patience. This article will guide you through the various levels of drywall finishing, from the basics to achieving a mirror-smooth surface, ensuring your project has a professional finish.
Our team stands out as the best drywall finishers in town, combining craftsmanship with meticulous attention to detail. We pride ourselves on delivering flawless finishes, ensuring every project meets the highest standards of quality.
Our commitment to customer satisfaction and expertise in the latest techniques sets us apart, making us one of the top
drywall contractors for all your drywall needs.
Drywall Finish Levels - How does it work
The process of finishing drywall has been standardized into five distinct levels by the Gypsum Association, a leading authority in the industry. These levels help both DIY enthusiasts and professionals achieve consistent, high-quality results. Knowing these levels is essential for anyone looking to ensure their drywall has a professional appearance.
The Five Levels of Drywall Finishing
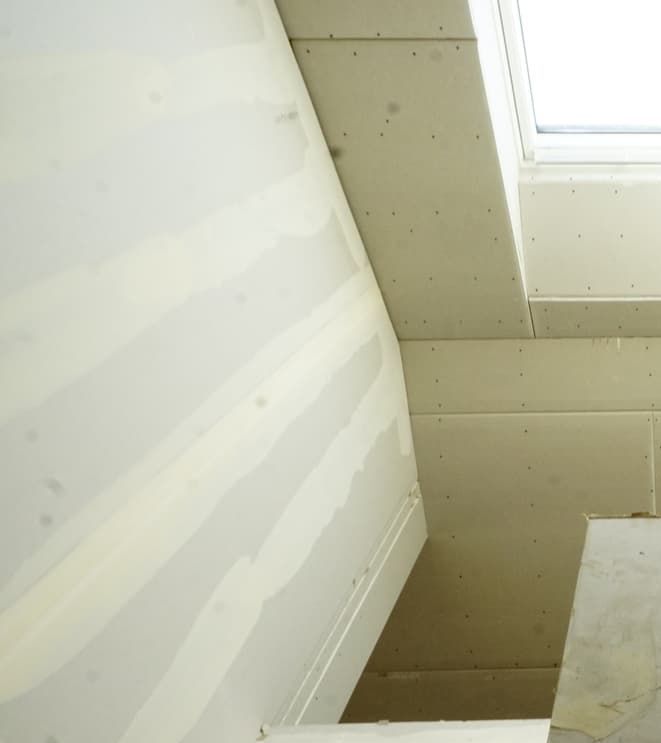
Level 0: Bare Installation At this level, the drywall sheets are simply attached to the wall or ceiling structure with no additional finishing. This stage is purely preparatory, setting the groundwork for further finishing steps.
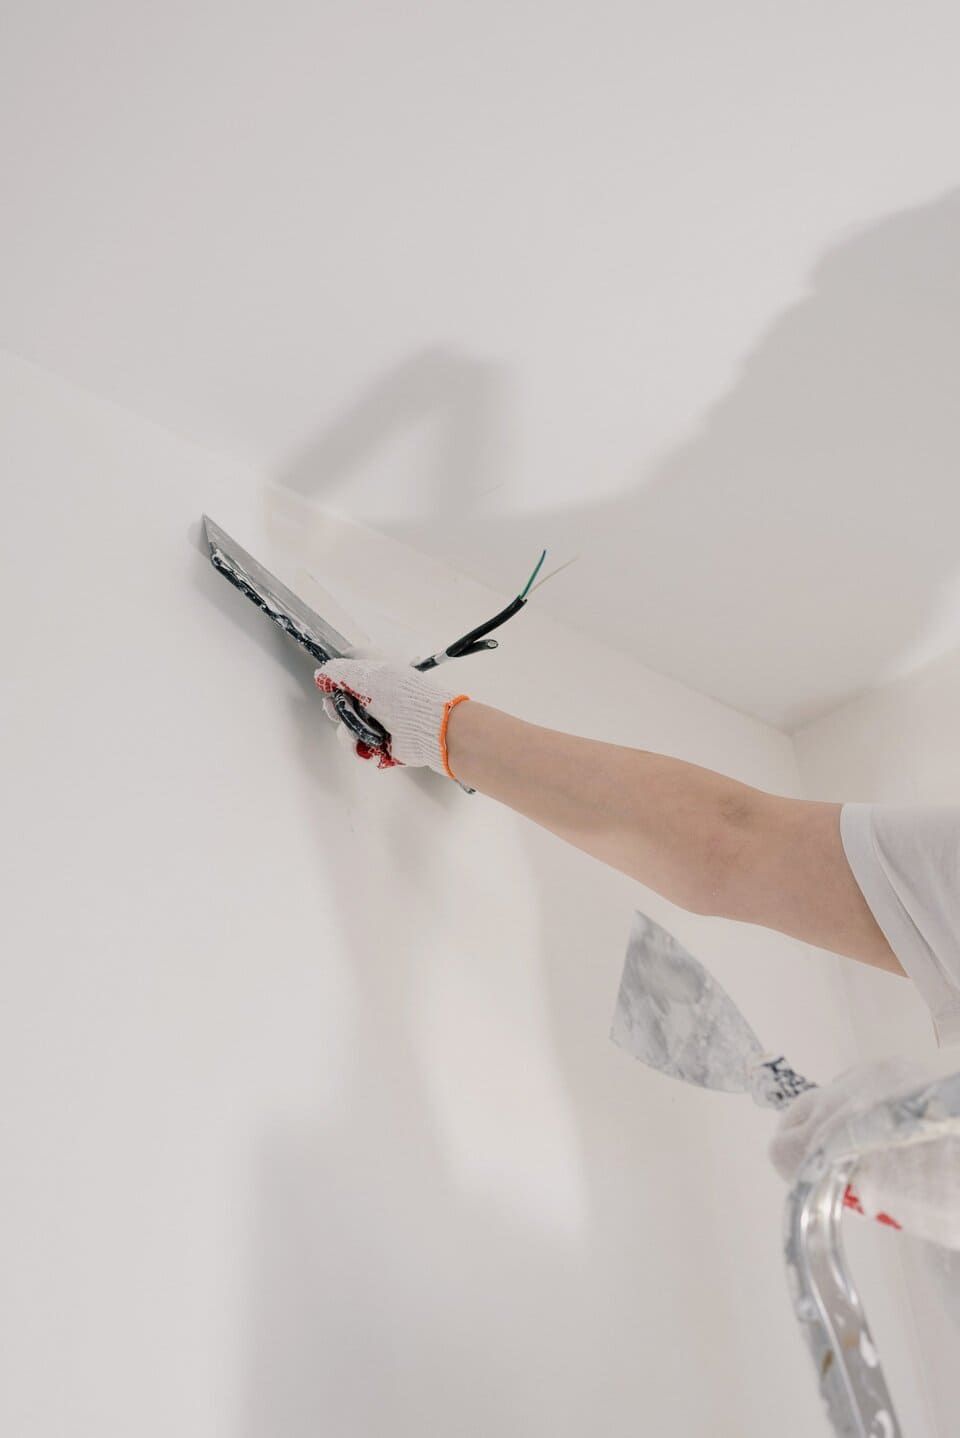
Level 1: Basic Joint Treatment Here, the drywall joint tape is embedded into a layer of joint compound over the seams- called drywall taping This level is typically used in areas that will remain unseen or receive further construction work, such as attics or service corridors.
Level 2: Thin Coat Over Joints and Screws At level 2, a thin layer of joint compound is applied over the tape and screw holes. This level is suitable for areas that might be covered with tiles or are intended for utility spaces like garages or workshops, where aesthetics are less critical.
Level 3: Additional Compound Layer Level 3 involves applying a second coat of joint compound over the taped seams and screw holes. This level is appropriate for walls that will receive a heavy texture finish, such as a knockdown or orange peel texture, which will mask any imperfections.
Level 4: Smooth Surface for Paint or Wallpaper The classic drywall finish, level 4, requires a third coat of joint compound and thorough sanding to achieve a smooth surface. This level is typically used for walls intended to be painted with flat paint or covered with wallpaper, where a smooth base is necessary for a clean finish.
Level 5: Premium Skim Coat Finish The highest standard of drywall finishing, level 5, involves applying a skim coat of joint compound over the entire surface. This final layer ensures the smoothest possible finish, ideal for glossy, enamel, or non-textured flat paints, and areas exposed to critical lighting, such as ceilings. Achieving a level 5 finish requires expertise and additional costs but results in the most refined appearance.
Techniques for Achieving Level 5 Finish
- Roller Application: Thinned joint compound is rolled onto the wall with a thick-nap roller and then immediately smoothed with a trowel or knife.
- Taping Knife Method: Several dabs of joint compound are applied to the wall and spread out evenly with a wide taping knife, removing excess compound.
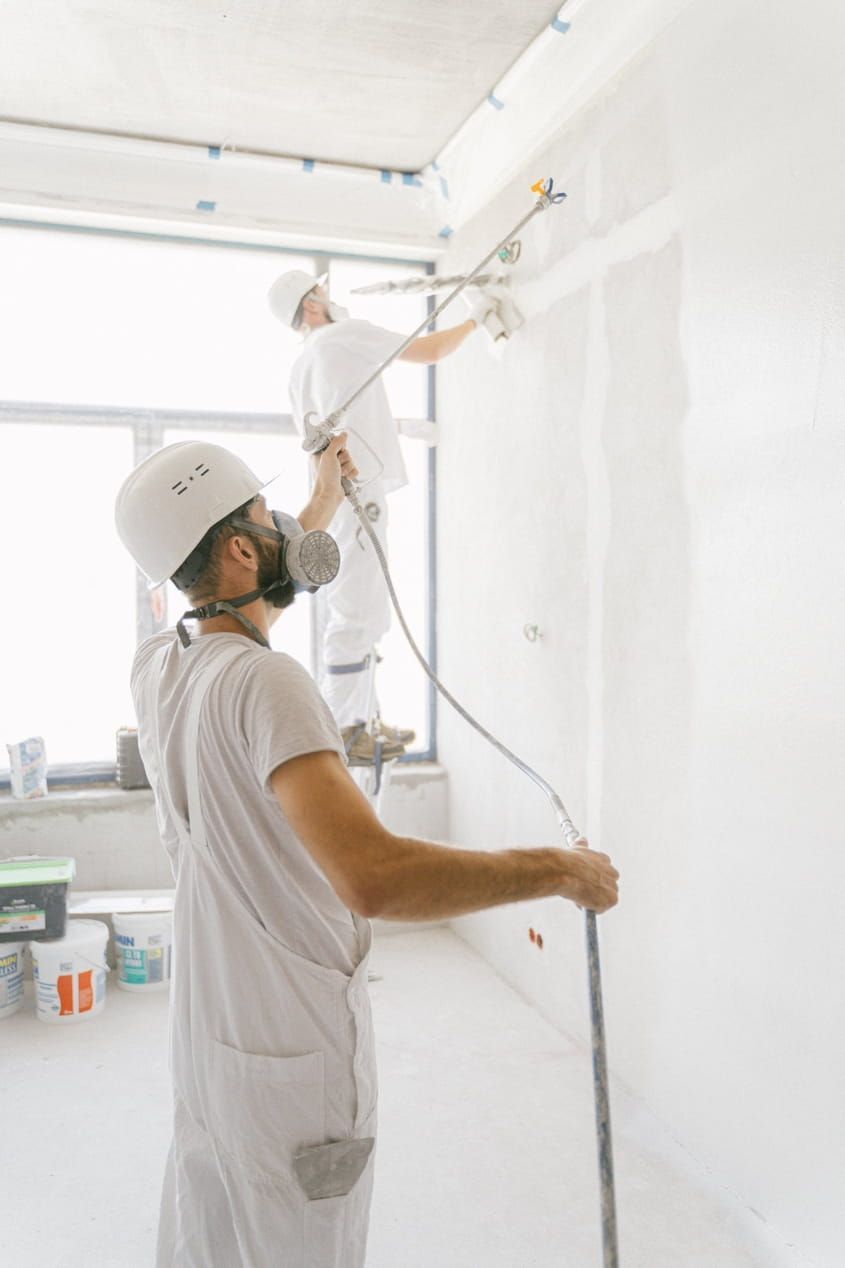
- Spray Application: Using specialized spray equipment, a fine mist of joint compound is applied, which is then smoothed out. This method is often used by professionals for large areas.
Practical Considerations for Drywall Finishing
Perfect drywall finishing for every inch of a surface is ideal but often impractical due to time and cost constraints. The appropriate level of finish can vary depending on the space:
- Utility Spaces: Level 1 or 2 finishes are sufficient for garages, workshops, and other utility areas.
- Hidden Surfaces: Areas behind cabinets or wainscoting do not require high levels of finish, allowing for lower levels.
- Living Spaces: For residential areas where walls and ceilings are visible, higher levels of finish, especially level 4 or 5, are recommended to ensure a flawless look.
Tips for a Professional Finish
- Patience is Key: Allow sufficient drying time between each coat of joint compound to avoid cracks and uneven surfaces.
- Feathering Edges: Gradually tapering the edges of each coat helps blend the compound seamlessly with the drywall surface.
- Lighting Check: Using angled lighting can help spot imperfections that need additional smoothing.
- Dust Control: Sanding creates a lot of dust. Use drop cloths, seal off the area, and wear a dust mask to minimize inhalation and spread of dust.
At Drywall Akron we take care to built a wall that is pristine and smooth. We have probably the best finishers in the area so trust us with your Drywalling Job!