How to patch a hole in drywall
How to fix a Hole in Drywall
Drywall Hole repair
As experienced drywall contractors, we've seen it all – from minor dings to gaping holes. Patching drywall might seem like a daunting task, but with the right approach and materials, it's something we can handle efficiently and professionally as part of our
drywall repair service. Whether you're dealing with damage from a door knob, an accident during a home renovation, or just regular wear and tear, we're here to guide you through the process step by step. By the end of this article, you'll understand how we patch drywall holes with precision and care, ensuring a seamless finish every time. For a more general approach read about
how to repair drywall.


Assessing the Damage - the right drywall patch
Small Holes (Less than 1/2 inch)
For minor damage, such as nail holes or small dents, the process is straightforward:
- Materials Needed: Spackling paste, putty knife, sandpaper.
- Steps:
- Preparation: Clean the area around the hole to ensure there's no dust or debris.
- Application: Apply a small amount of spackling paste to the hole using a putty knife, spreading it evenly.
- Drying: Allow the paste to dry completely, usually a few hours.
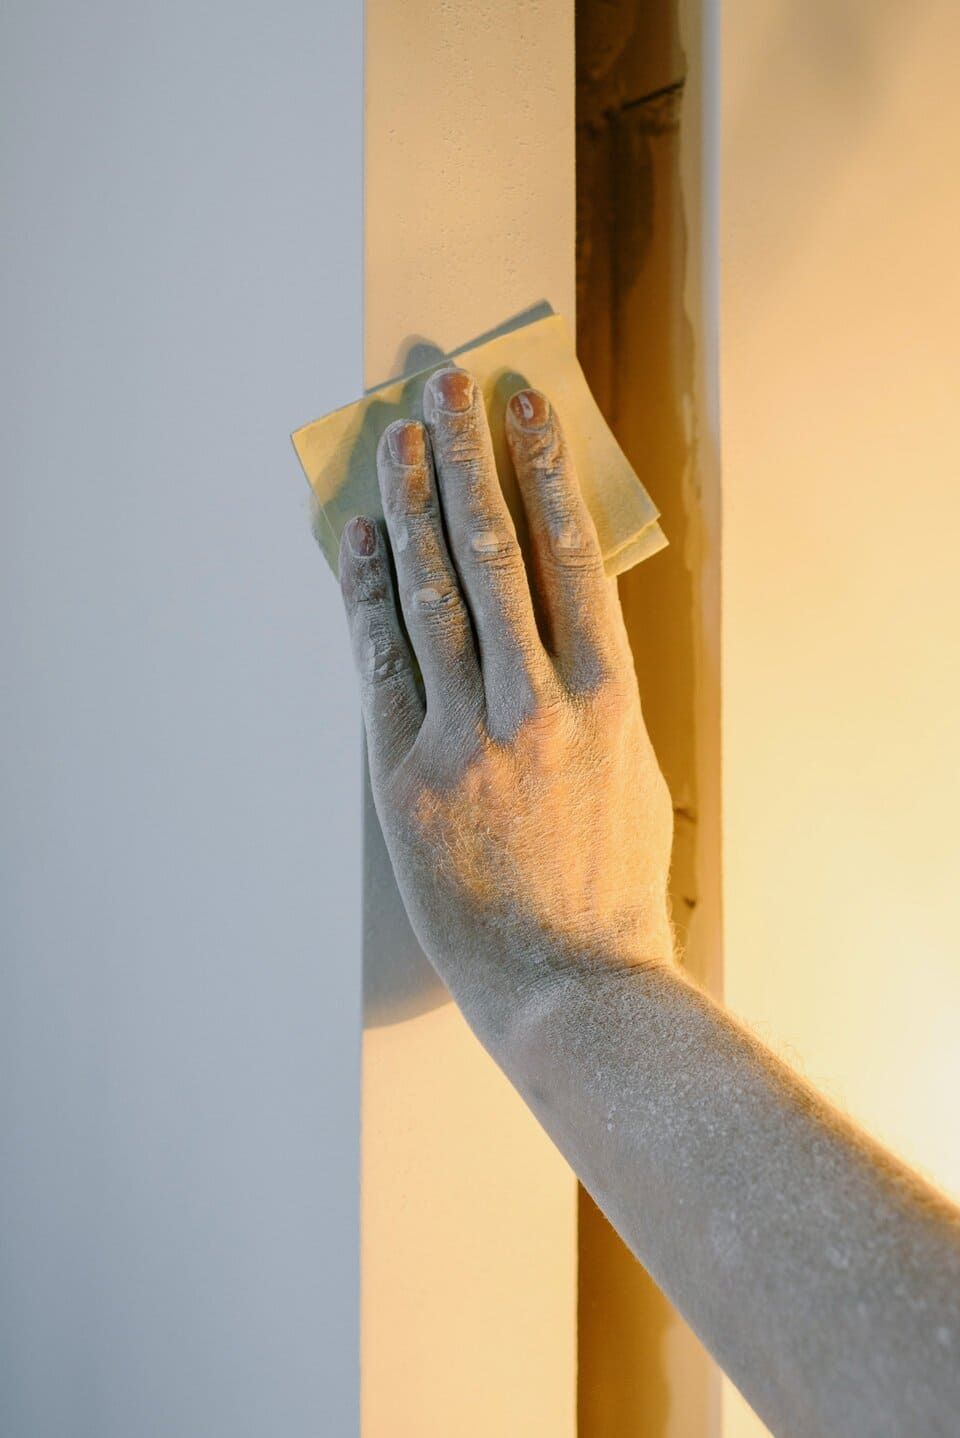
- Sanding: Once dry, lightly sand the area until it's smooth and level with the surrounding wall.
- Painting: Touch up with paint to match the wall color.
Medium Holes (1/2 inch to 6 inches)
Medium-sized holes, often caused by doorknobs or minor accidents, require a bit more effort:
- Materials Needed: Drywall patch kit, putty knife, sandpaper, primer, and paint.
- Steps:
- Preparation: Clean the area and remove any loose drywall or debris.
- Patching: Use a self-adhesive mesh patch to cover the hole.
- Application: Apply joint compound over the mesh patch using a putty knife, feathering the edges to blend with the wall.
- Drying and Sanding: Allow the compound to dry, then sand it smooth.
- Repeating: Apply a second coat of joint compound if necessary, then sand again.
- Priming and Painting: Prime the patched area and paint to match the rest of the wall.
Large Holes (Over 6 inches)
Larger holes require more skill and precision, often involving replacing a section of the drywall:
- Materials Needed: Drywall saw, replacement drywall piece, joint tape, joint compound, putty knife, sandpaper, screws, drill, primer, and paint.
- Steps:
- Cutting the Damage: Use a drywall saw to cut out a square or rectangular section around the hole.
- Cutting the Patch: Cut a new piece of drywall to fit the hole.
- Securing the Patch: Place the new drywall piece into the hole and secure it with screws.
- Taping and Mudding: Apply joint tape around the edges of the patch. Spread joint compound over the tape and smooth it out with a putty knife.
- Layering: Allow the first coat to dry, then apply additional coats of joint compound, sanding between each coat.
- Finishing: Prime and paint the area to blend with the rest of the wall.
Pro Tips for a Seamless Finish
Choosing the Right Materials
Quality materials make a significant difference in the outcome of your patch job. We always use professional-grade spackling paste, joint compound, and drywall patches to ensure durability and a smooth finish.
Proper Drying Time
Patience is key when patching drywall. Rushing the drying process can lead to imperfections. We recommend allowing each layer of compound to dry thoroughly before sanding and applying additional coats.
Sanding Techniques
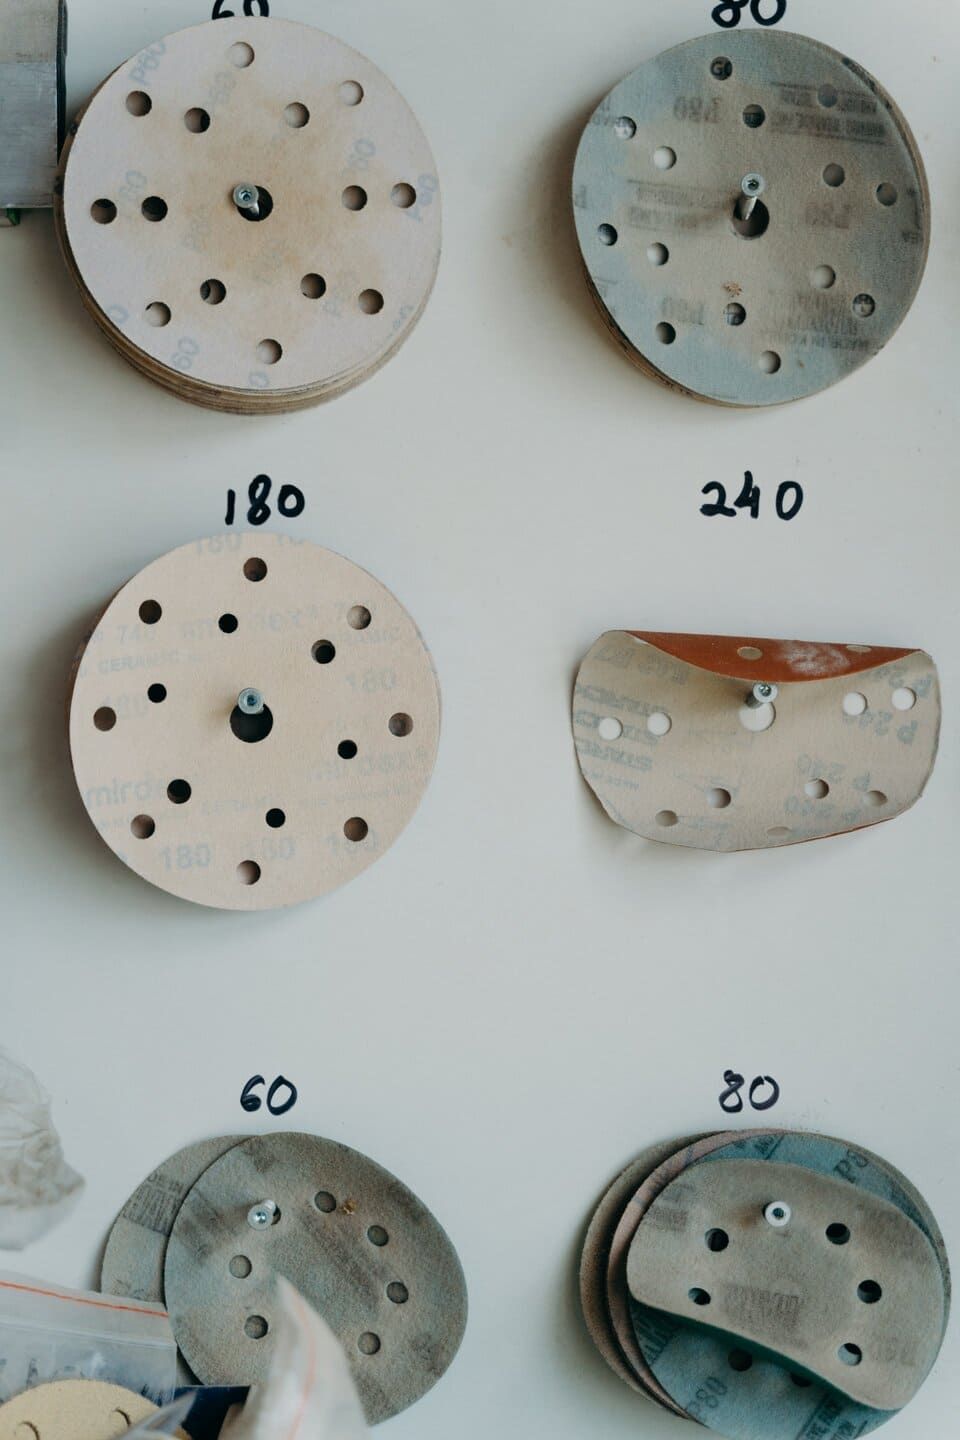
Sanding is crucial for a seamless finish. We use fine-grit sandpaper and gentle, circular motions to blend the patched area with the surrounding wall. Using a sanding sponge can also help achieve a smooth surface without over-sanding.
Priming Before Painting
Priming the patched area before painting ensures that the paint adheres properly and matches the rest of the wall. Skipping this step can result in an uneven finish and noticeable patch lines.
Matching Paint
To achieve a truly invisible repair, matching the paint color is essential. We always keep a record of the paint colors used in each project, making it easy to touch up any future damage without worrying about mismatched colors.

Common Mistakes to Avoid
Overloading the Joint Compound
Applying too much joint compound at once can lead to cracking and a bumpy surface. We recommend applying thin layers and building up gradually for the best results.
Insufficient Sanding
Not sanding enough can leave noticeable ridges and uneven spots. However, over-sanding can damage the surrounding drywall. Striking the right balance is key to a professional finish.
Ignoring Structural Issues
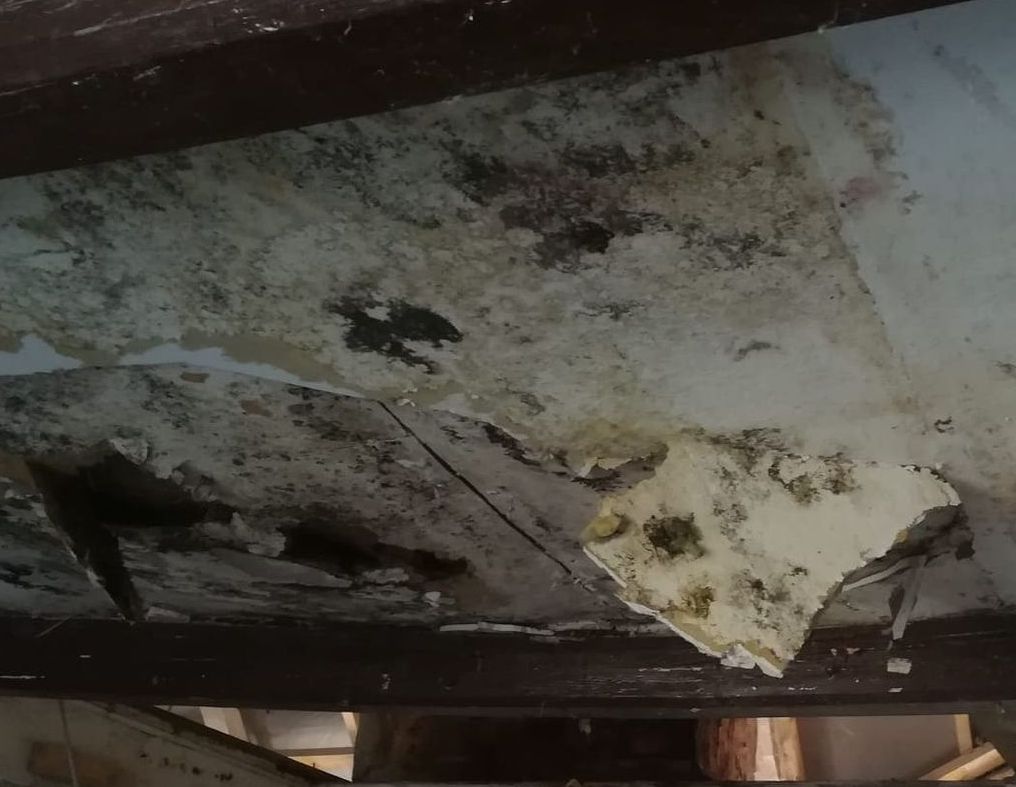
Sometimes, drywall damage is a symptom of a larger structural problem. As professionals, we always inspect the area for underlying issues, such as water damage or framing problems, and address them before patching the hole.
Why Hire a Professional Drywall Contractor?
While DIY patching is possible for small holes, larger repairs require skill and experience to achieve a flawless finish. Hiring a professional drywall contractor ensures:
- Expertise: We have the knowledge and tools to handle any size repair efficiently.
- Quality: Professional materials and techniques result in a durable, seamless finish.
- Time Savings: We complete the job quickly, minimizing disruption to your home.
- Safety: Proper handling of tools and materials reduces the risk of injury.